How to Crochet the Black Cat Dinner Placemat: Oval Foundation, Kitty Ears & Whiskers Embroidery
Learn how to crochet a charming black cat dinner placemat charger with pointed ears, surface slip-stitch whiskers, and flat-blocking techniques for your Halloween table.
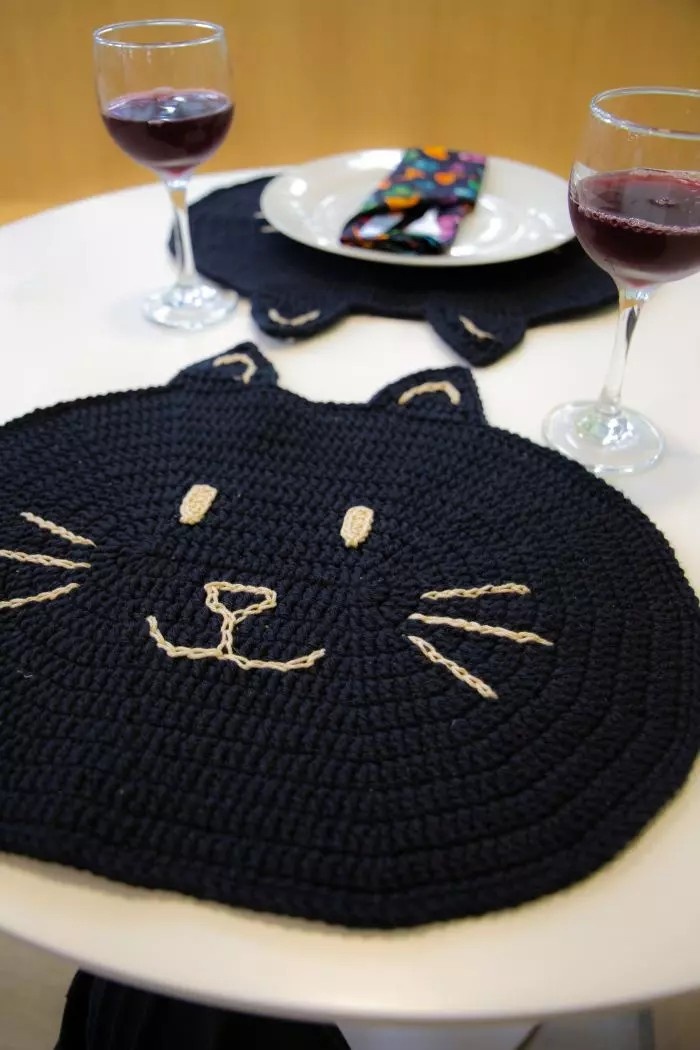
- Technique & Style: Overlay mosaic crochet worked from right to left on right-side rows only, alternating Color A (BLOsc) and Color B (FLOdc drop stitches).
- Zero Ends to Weave In: All side fringe cut tails are completely encased inside a seamless double envelope border worked in the round.
- Included Guides: Full row-by-row written instructions in standard US terms paired with marked high-resolution printable stitch charts.
- Yarn & Gauge: Uses an effortless 50/50 yardage split between Color A and Color B, easily customizable for DK #3, Worsted #4, or Bulky #5 weights.
How to Crochet the Black Cat Dinner Placemat: Oval Foundation, Kitty Ears & Whiskers Embroidery
When autumn arrives, setting an inviting, atmospheric dining table is one of the season's greatest pleasures. While traditional jack-o'-lanterns are lovely, the Black Cat Crochet Placemat & Charger brings sophisticated gothic charm and heartwarming personality to your dinner setting.
At 40 x 35 cm, it fits comfortably beneath standard dinner plates while allowing the cute pointed ears and inquisitive whiskers to peek out from under the plate rim!
1. Choosing Heat-Resistant Cotton for Tableware
Unlike acrylic, which can melt or warp when in contact with hot serving bowls:
- 100% Worsted Cotton (such as Círculo Barroco Maxcolor in Jet Black) provides natural heat resistance and exceptional stitch definition.
- A single 400g cake contains 452 yards—enough yarn to crochet two complete placemats with yarn to spare!
- For the embroidery and eye appliqués, use a contrasting sport-weight cotton in porcelain cream (Color 7684) so the facial details remain crisp and defined.
2. Working the Flat Oval Base (Rounds 1-10)
Keeping an oval placemat completely flat requires distributed increases:
- Foundation: Chain 16 + 3 turning chains (counts as 1st dc) using a 4.0 mm hook.
- Round 1: Double crochet in 4th chain from hook, work 6 dc increases along the starting curve, double crochet along the 14 center chain bars, work 7 dc increases around the opposite curved end, and double crochet 14 across. Join with a slip stitch.
- Rounds 2-10: Follow Diagram 1 closely. By concentrating increases evenly around the outer curved lobes and working straight across the 14 center stitches, your charger expands into a symmetrical, wobble-free oval.
3. Crocheting the Pointed Kitty Ears
Without cutting your black yarn:
- Right Ear: Work 8 double crochets directly along the upper perimeter rim. Taper inward across Rows 12-14 using double crochet decreases (`dc2tog` and `dc4tog`) to create a sharp, upright triangular point.
- Left Ear: Skip the charted center space between ears, rejoin yarn, and mirror the right ear.
- Border Rim: Work a continuous perimeter round of single crochet and slip stitches all the way around the entire placemat and over both ears to create a tailored edge.
4. Eye Appliques & Surface Slip-Stitch Whiskers
- Eyes (Make 2): Crochet two small cream ovals and sew down flat on the black base.
- Surface Embroidery: Using your sport-weight cream yarn and a tapestry needle (or crochet hook for surface slip stitches), embroider:
- An inverted triangular nose at center.
- Three radiating whiskers on each cheek.
- Inner accent lines outlining the inside contours of the ears.
5. Steam Blocking for a Table-Ready Finish
Place your finished placemats wrong-side up on an ironing board or blocking mat. Hover a steam iron 1 inch above the cotton (never press the iron directly onto the stitches), saturating the fabric with steam. Smooth flat with your hands and allow to cool completely. The placemats will lie perfectly flat without curling edges!
Create Your Halloween Tablescape!
Download the complete Halloween Black Cat Crochet Placemat Pattern with instant PDF delivery, printable charts, and written instructions!
Charming Oval Dinner Charger with Pointed Kitty Ears & Surface Slip-Stitch Embroidery. Includes full stitch diagram, facial template, and dinner party styling guide.
Planning to Crochet This Blanket?
Use our Free Crochet Blanket Yardage Calculator to calculate exact stitch counts, row counts, and 50/50 overlay mosaic color splits for any custom size.
Shop Matching Mosaic Blanket Patterns

Valley Top-Down Raglan Knit Blouse Pattern

Chestnut Textured Short-Sleeve Knit Tee Pattern

Quartz Classic Raglan Knit Pullover Pattern
Related Crochet Tutorials & Guides
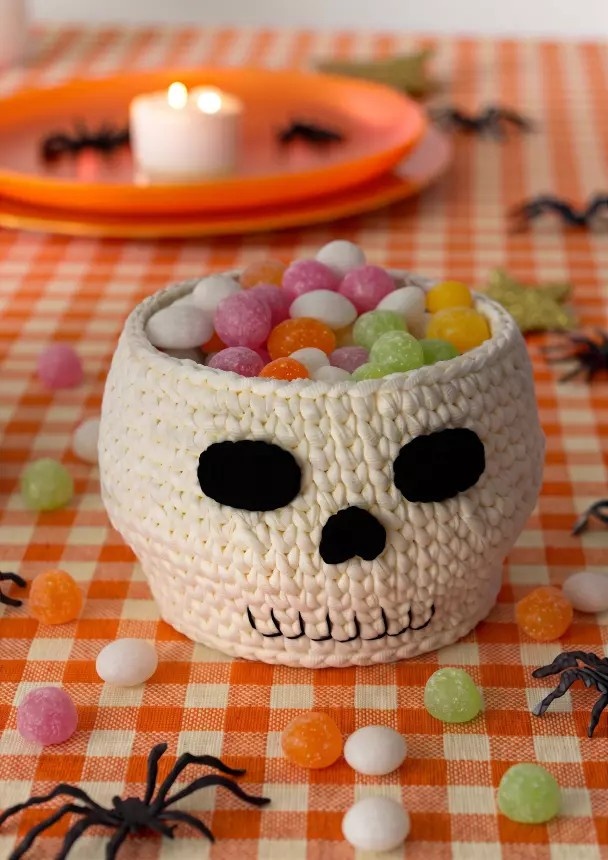
How to Crochet a Sturdy Gothic Skull Basket: T-Shirt Yarn, Waistcoat Stitch & Facial Details
Master the knit-look waistcoat stitch with super bulky t-shirt yarn and create a stiff, sculpted gothic skull basket organizer for Halloween and year-round dark decor.
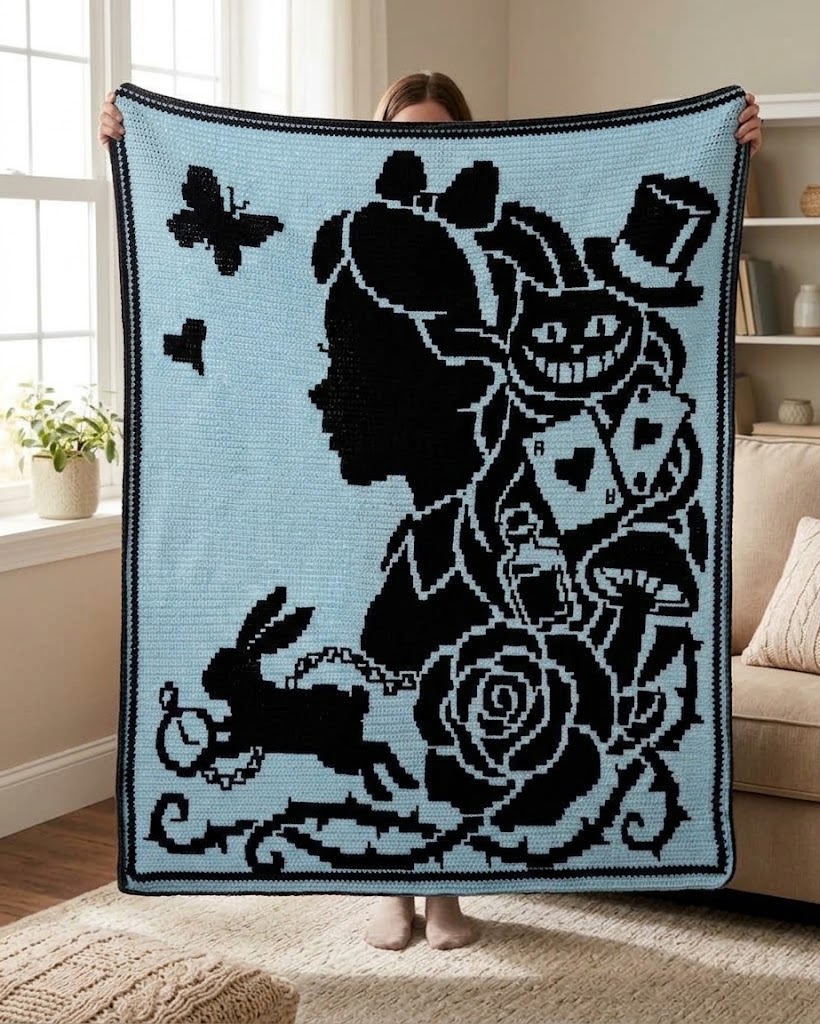
Nevermore in Yarn: The Gothic Raven & Midnight Moon Mosaic
How dark romanticism and Poe folklore inspired our most dramatic gothic crochet throw.
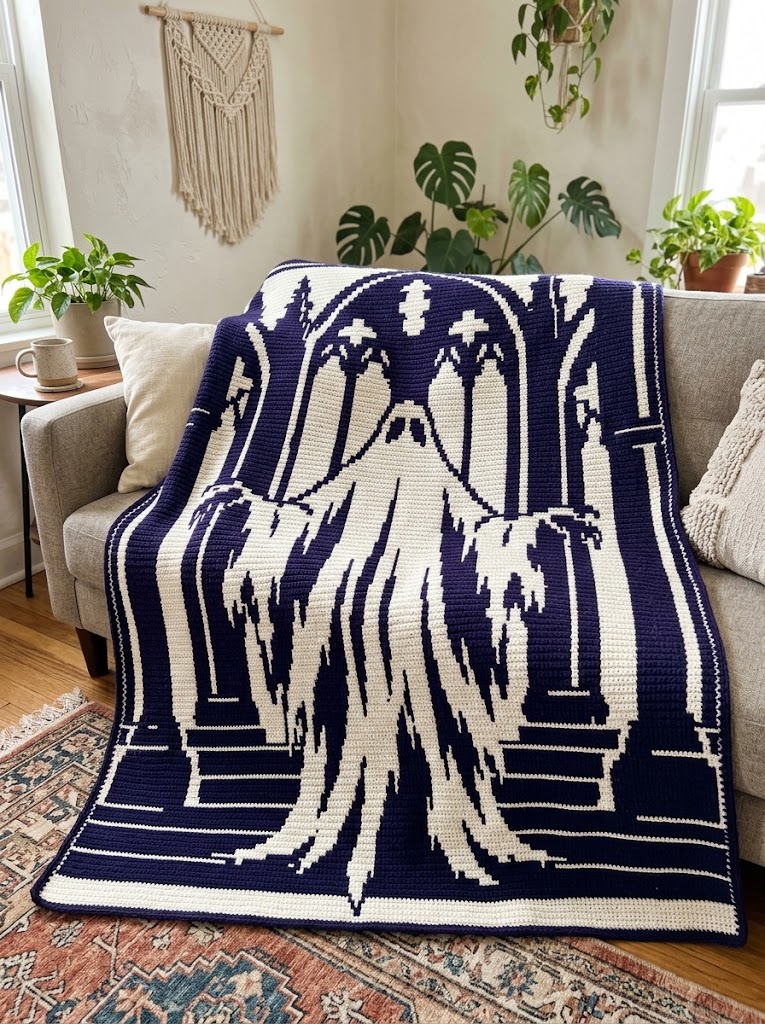
Dark Academia Textiles: The Story of Cathedral Ghost Mosaic
Explore how gothic cathedral architecture and spooky-cute folklore inspired our viral Cathedral Ghost blanket.
🔗 Share or Reference This Guide on Your Blog
Are you a crochet blogger, yarn creator, or craft curator? You are welcome to reference or cite this tutorial on your website. Click below to copy a ready-to-use HTML link.
<p>Reference: <a href="https://crochetpinterest.com/blog/how-to-crochet-black-cat-placemat-table-setting-halloween-guide" target="_blank" rel="noopener">How to Crochet the Black Cat Dinner Placemat: Oval Foundation, Kitty Ears & Whiskers Embroidery on crochet pinterest</a>.</p>
[How to Crochet the Black Cat Dinner Placemat: Oval Foundation, Kitty Ears & Whiskers Embroidery on crochet pinterest](https://crochetpinterest.com/blog/how-to-crochet-black-cat-placemat-table-setting-halloween-guide)