How to Crochet the Toadstool Mosaic Blanket: A Complete Woodland Cottagecore Guide
Immerse yourself in forest cottagecore magic with our step-by-step masterclass on crocheting the Toadstool Mosaic Blanket, including contrast yarn selection, chart navigation, and double border tips.
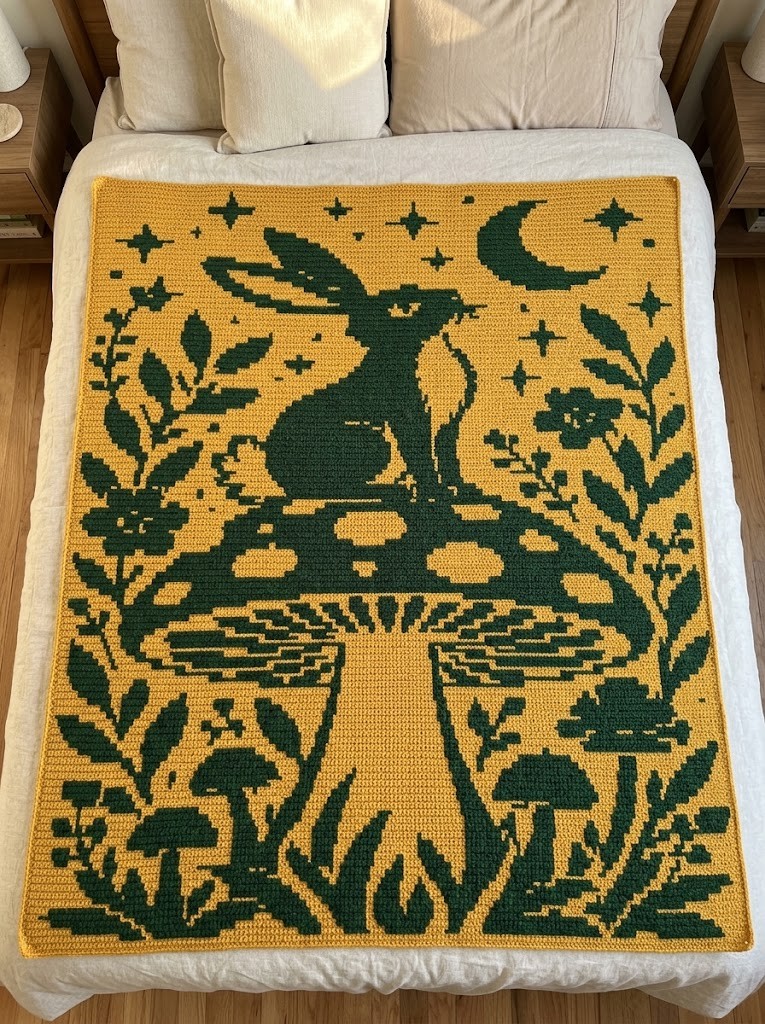
- Technique & Style: Overlay mosaic crochet worked from right to left on right-side rows only, alternating Color A (BLOsc) and Color B (FLOdc drop stitches).
- Zero Ends to Weave In: All side fringe cut tails are completely encased inside a seamless double envelope border worked in the round.
- Included Guides: Full row-by-row written instructions in standard US terms paired with marked high-resolution printable stitch charts.
- Yarn & Gauge: Uses an effortless 50/50 yardage split between Color A and Color B, easily customizable for DK #3, Worsted #4, or Bulky #5 weights.
Few things capture the whimsical peace of nature quite like mushroom foraging beneath autumn trees. When designing the Toadstool Mosaic Blanket, our goal was to translate that earthy, grounding cottagecore charm into a timeless heirloom piece that looks deceptively complex yet is remarkably relaxing to stitch.
If you have ever felt intimidated by multicolored crochet, overlay mosaic is about to change everything for you. In this comprehensive guide, we'll walk through how this blanket comes together, how to choose colors that make the mushrooms glow, and how to avoid the most common mistakes makers face.
Understanding the Magic of Overlay Mosaic Crochet
Unlike tapestry crochet where you must carry non-working yarn inside your stitches or intarsia where dozens of bobbins tangle in your lap, overlay mosaic crochet simplifies colorwork into two basic stitches:
- Back Loop Single Crochet (`sc blo`): Worked in the current row's active color. By working into the back loop only, you leave the front loop open and waiting.
- Drop-Down Double Crochet (`dc flo`): Worked two rows down into the exposed front loop of the matching color. This drop-down stitch creates the solid vertical graphic lines that bring the toadstool stems, caps, and spore patterns to life.
Every row is worked with the Right Side always facing you, moving from right to left. You never turn your work! You use only one color at a time for the entire row, fasten off at the left edge, and start fresh on the next row.
Choosing the Perfect Yarn & Color Combinations
The key to a show-stopping Toadstool Mosaic Blanket is value contrast. High contrast between Color A (the motif) and Color B (the background) ensures every mushroom silhouette pops with crisp definition.
Here are three tested palette recommendations:
- Earthy Autumn (Original Cottagecore):
- Color A: Vintage Cream, Sandstone, or Bleached Linen.
- Color B: Deep Forest Pine, Espresso Brown, or Rich Truffle.
- Fairy Forest Glow:
- Color A: Soft Honey Mustard or Terracotta Rust.
- Color B: Midnight Charcoal or Dark Blackberry.
- Whimsical Nordic:
- Color A: Crisp Snow White.
- Color B: Heathered Slate Grey or Petrol Blue.
Pro-Tip on Yarn Fibers: Acrylic or acrylic-wool blends (such as Lion Brand Wool-Ease or Stylecraft Special DK/Aran) offer excellent stitch definition, beautiful drape, and withstand washing without pilling.
Step-by-Step Stitching Strategy: Starting Rows 0 Through 10
- The Foundation (Row 0): Chain 199 stitches in Color A loosely. We recommend using a hook 0.5 mm larger for your foundation chain so your bottom edge never pulls tight or bows.
- Anchor Rows (Rows 1–3): Single crochets establish the flat foundation. Pay attention to your border stitches (`bs`)—work single crochet through both loops on the first and last stitch of every row to give your project firm, stable selvedges.
- First Graphic Drops (Row 4 & beyond): When working your drop-down double crochets, make sure not to pull them too tightly. Let the double crochet stand at the natural height of the current row so your fabric stays silky and flat without puckering.
What to Do with the Yarn Tails: Two Elegant Solutions
Because yarn is cut at the end of each row, you will have fringe tails along both side edges. Here is how expert mosaic crocheters finish them with zero frustration:
#### Option A: The Envelope Double Border (No Ends to Weave!)
The most popular finishing technique for mosaic blankets. You pick up stitches along the front and back of the blanket edges, create two parallel layers of border, and sandwich all 246 yarn tails securely inside. Once seamed, the tails become natural border stuffing, and you never have to weave a single end!
#### Option B: Luxurious Knotted Fringe
If you adore bohemian textures, leave 5-inch tails at each end. Group tails from adjacent rows and knot them into pairs or add tassels to create a lush, decorative fringed border.
Blocking Your Finished Toadstool Blanket
Never skip steam blocking an overlay mosaic blanket! Pin your finished blanket to blocking mats, hover a steam iron 1 inch above the fabric (never touching acrylic directly), and allow the fibers to relax into perfect square alignment. Your mushrooms will emerge with razor-sharp crispness!
Ready to begin? Grab your Toadstool Mosaic Blanket Pattern and join our creative community of makers!
Bring enchanting woodland cottagecore charm into your living space with the Toadstool Mosaic Blanket. Features whimsical mushroom clusters, intricate spore motifs, and modern geometric woodland borders.
Planning to Crochet This Blanket?
Use our Free Crochet Blanket Yardage Calculator to calculate exact stitch counts, row counts, and 50/50 overlay mosaic color splits for any custom size.
Shop Matching Mosaic Blanket Patterns
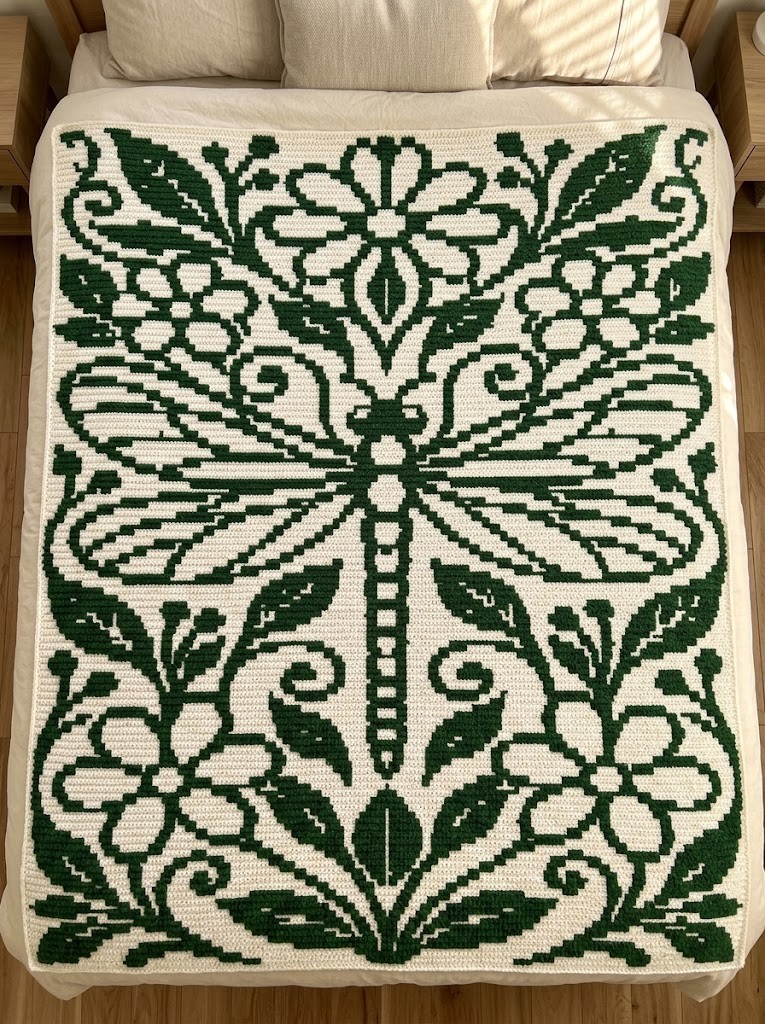
Monarch Butterfly Mosaic Crochet Blanket Pattern [Instant Printable PDF]
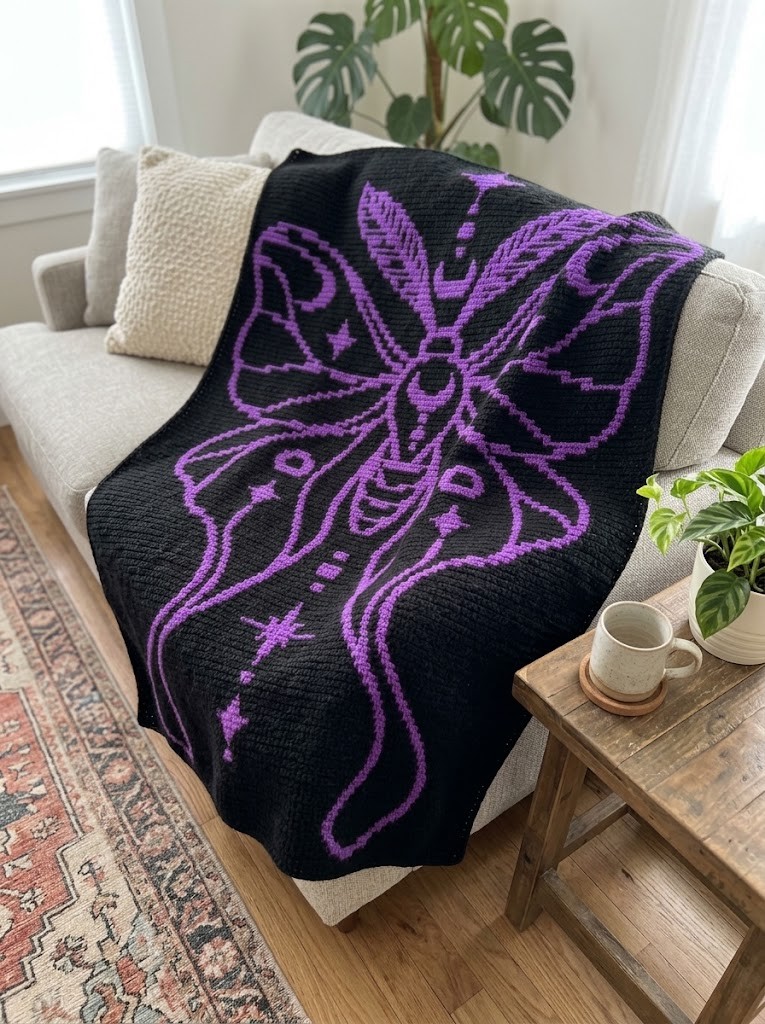
Celestial Moth Overlay Mosaic Crochet Blanket Pattern [Printable PDF + Chart]
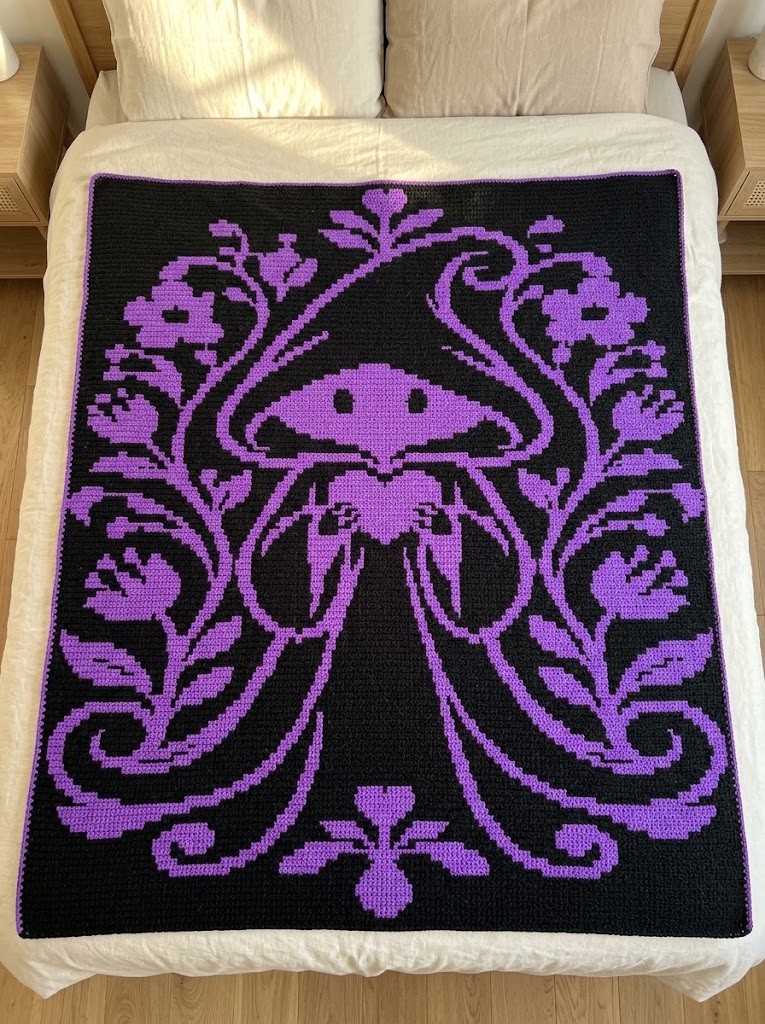
Reaper Bloom Gothic Mosaic Crochet Blanket Pattern [Instant Printable PDF]
Related Crochet Tutorials & Guides
Step-by-Step Guide: Crocheting the Monarch Butterfly Mosaic Blanket
Master the wing curvature and crisp geometric contrast of the Monarch Butterfly Mosaic Blanket with our comprehensive tutorial, gauge formulas, and blocking methods.
How to Crochet the Celestial Moth Blanket: Luna Moth Geometry & Stitch Secrets
Explore the celestial symbolism, wing symmetry techniques, and yarn pairing advice to create a show-stopping Celestial Moth Mosaic Crochet Blanket.
Crocheting the Reaper Bloom Blanket: Dark Fantasy & Gothic Botanical Colorwork Masterclass
Learn how to master dramatic high-contrast colorwork, handle tension across 49,600 stitches, and achieve razor-sharp edges on the Reaper Bloom Gothic Mosaic Blanket.
🔗 Share or Reference This Guide on Your Blog
Are you a crochet blogger, yarn creator, or craft curator? You are welcome to reference or cite this tutorial on your website. Click below to copy a ready-to-use HTML link.
<p>Reference: <a href="https://crochetpinterest.com/blog/how-to-crochet-toadstool-mosaic-blanket-cottagecore-guide" target="_blank" rel="noopener">How to Crochet the Toadstool Mosaic Blanket: A Complete Woodland Cottagecore Guide on crochet pinterest</a>.</p>
[How to Crochet the Toadstool Mosaic Blanket: A Complete Woodland Cottagecore Guide on crochet pinterest](https://crochetpinterest.com/blog/how-to-crochet-toadstool-mosaic-blanket-cottagecore-guide)