How to Overlay Mosaic Crochet for Beginners: Step-by-Step Guide [With Charts]
Master overlay mosaic crochet from scratch. Learn how to work BLOsc and FLOdc stitches, read color charts, and avoid common beginner mistakes with our comprehensive step-by-step guide.
![How to Overlay Mosaic Crochet for Beginners: Step-by-Step Guide [With Charts] - Mosaic Crochet Tutorials Overlay Mosaic Crochet Guide & Tutorial Chart](/uploads/images/tranquil-lake-fishing-canoe-mosaic-blanket-1.jpg)
- Technique & Style: Overlay mosaic crochet worked from right to left on right-side rows only, alternating Color A (BLOsc) and Color B (FLOdc drop stitches).
- Zero Ends to Weave In: All side fringe cut tails are completely encased inside a seamless double envelope border worked in the round.
- Included Guides: Full row-by-row written instructions in standard US terms paired with marked high-resolution printable stitch charts.
- Yarn & Gauge: Uses an effortless 50/50 yardage split between Color A and Color B, easily customizable for DK #3, Worsted #4, or Bulky #5 weights.
BLUF (Bottom Line Up Front): Overlay mosaic crochet creates intricate geometric and pictorial designs using only two basic stitches: Back Loop Only single crochet (BLOsc) for background rows and Front Loop Only double crochet (FLOdc) dropped two rows below to create patterns. You work entirely from the right side, cutting yarn every row, eliminating tangled floats.
Table of Contents
- 1. Materials & Yarn Contrast Selection
- 2. The Two Golden Stitches: BLOsc & FLOdc
- 3. Foundation Rows & The Right-Side-Only Rule
- 4. Executing Your First Dropped Overlay Pattern
- 5. Edge Stitches & Cutting Yarn Tails
- 6. Technique Comparison: Overlay vs. Interlocking vs. Tapestry
- 7. Frequently Asked Questions
1. Materials & Yarn Contrast Selection
Before placing your first stitch, the most critical decision in overlay mosaic crochet is choosing two yarn colors with sharp tonal contrast. Because the entire optical illusion depends on clean foreground definition against a solid background, low-contrast combinations (like pale heather grey against cream) will cause your design motif to blur and lose its crisp edges.
We strongly advise using two high-contrast shades of medium worsted (#4) or light DK (#3) weight acrylic or smooth cotton blend. For hook sizing, select an ergonomic crochet hook that is 0.5 mm larger than your yarn ball band recommendation (for example, a 5.0 mm hook for worsted weight) to prevent stiff, dense fabric that curls.
Tranquil Lake & Fishing Canoe Blanket
The perfect two-color introduction with clear mountain horizons, gentle water ripples, and zero mid-row yarn changes.
2. The Two Golden Stitches: BLOsc & FLOdc
Unlike traditional colorwork where you carry yarn along rows or switch bobbins, overlay mosaic crochet is built on just two foundational stitches:
- BLOsc (Back Loop Only Single Crochet): Insert your hook strictly under the rear loop of the stitch from the previous row. Yarn over and pull up a loop, then yarn over and pull through both loops. This leaves the front loop exposed directly in front of your work.
- FLOdc (Front Loop Only Double Crochet): Yarn over, reach down two rows below directly beneath your current position, and insert your hook into the unworked front loop of the same color. Yarn over, pull up a loop to the working height of your current row, yarn over, pull through two loops, yarn over, and pull through the remaining two loops.
3. Foundation Rows & The Right-Side-Only Rule
The defining rule of overlay mosaic crochet is that you never turn your work. Every single row is worked from right to left (for right-handers) or left to right (for left-handers) strictly across the right side (RS).
- Row 1 (Color A): Chain your desired stitch count plus 2 border stitches. Work regular single crochets through both loops across the chain. Fasten off and leave a 4-inch yarn tail.
- Row 2 (Color B): Join Color B at the beginning of the row on the right side. Work a regular border single crochet through both loops, work BLOsc across all pattern stitches, and finish with a regular border single crochet through both loops. Fasten off and leave a tail.
4. Executing Your First Dropped Overlay Pattern
On Row 3 (returning to Color A), the magic happens. When your pattern calls for a motif highlight, instead of working into the back loop of Row 2, you drop down into the unworked front loop of Row 1. The tall double crochet stitch lies directly over the background stitch of Row 2, creating a seamless vertical column of Color A that conceals the Color B stitch behind it.
Nordic Bloom Geometric Floral Blanket
Features stunning symmetrical flower tiles and medallion centers ideal for mastering FLOdc placement.
5. Edge Stitches & Cutting Yarn Tails
Every row begins and ends with an anchor border stitch worked through both loops. This creates a sturdy structural backbone down each side of the blanket. Because yarn is fastened off at every row end, your blanket will have hundreds of loose fringes. Do not fear: these tails are never woven in by hand! They are neatly and permanently hidden inside a double envelope border once the body is complete.
6. Technique Comparison: Overlay vs. Interlocking vs. Tapestry
Makers often confuse different crochet colorwork methods. Here is how overlay mosaic compares to interlocking and tapestry crochet:
| Technique | Stitches Used | Work Direction | Float Management | Reversibility |
|---|---|---|---|---|
| Overlay Mosaic | BLOsc & FLOdc | Right Side Only (No Turning) | Zero Floats (Enclosed in Border) | Striped Pattern on Reverse |
| Interlocking Crochet | Filet mesh (dc + ch1) | Turned Rows (Front & Back) | Woven Window Meshes | Fully Reversible Two-Sided |
| Tapestry Crochet | Regular sc / hdc | Turned or Round | Carried inside core stitches | Identical Motifs (Visible peek) |
Frequently Asked Questions
Q: Why do I have to cut my yarn at the end of every row in overlay mosaic?
Because overlay mosaic is worked strictly from right to left across the front of the blanket, cutting yarn allows each new color to start freshly at the right edge without dragging long, tension-distorting yarn strands across the back of your project.
Q: What does the 'X' mark mean on an overlay mosaic crochet chart?
An 'X' marked on a chart grid box instructs you to work a Front Loop Only double crochet (FLOdc) into the unworked front loop located two rows directly below. An unmarked blank box indicates a regular Back Loop Only single crochet (BLOsc).
Q: Why does my mosaic crochet piece lean or tilt to one side?
Because crochet stitches naturally lean slightly to the right when worked in the round or right-side only, tight tension on the dropped FLOdc stitches pulls the fabric diagonally. To prevent slanting, elongate your FLOdc loops to the full working height of your current row and size up your hook by 0.5 mm.
Q: Do I really have to weave in hundreds of cut yarn ends?
No! You should never weave in mosaic yarn ends. Instead, you crochet a double envelope border that creates front and back enclosing walls, trapping every raw tail securely inside an invisible, durable hem.
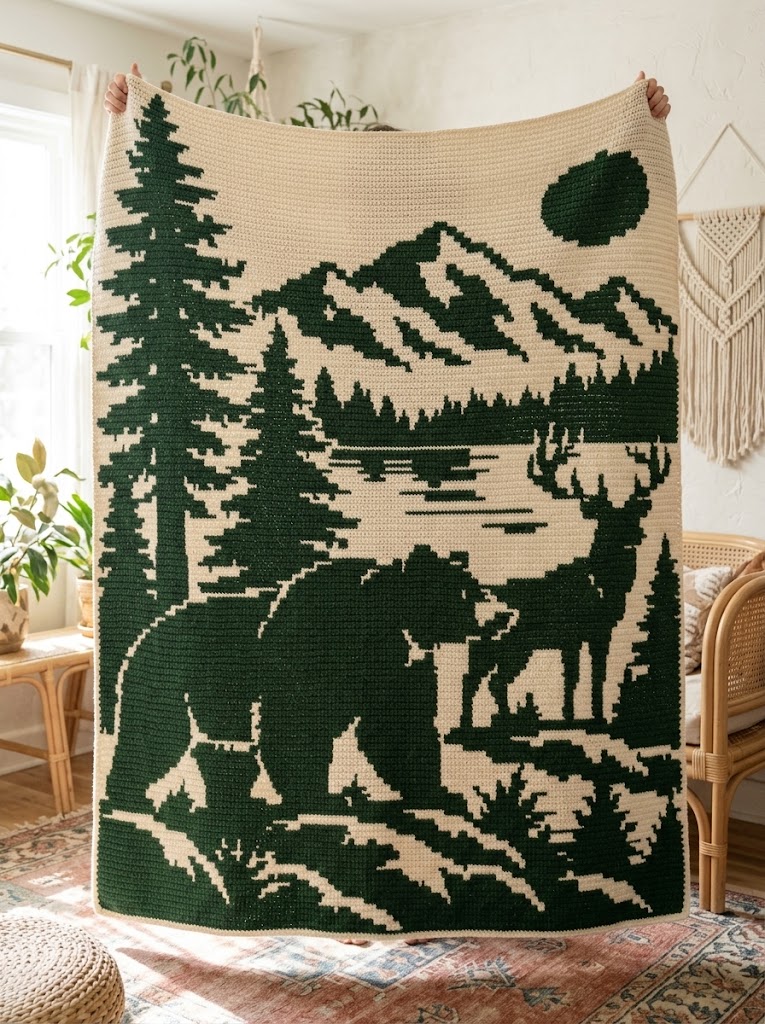
Immerse yourself in peaceful lakeside mornings with this master overlay mosaic crochet blanket pattern featuring towering pine ridges, mountain waters, and an angler in a canoe. Full chart and row-by-row guide included.
Planning to Crochet This Blanket?
Use our Free Crochet Blanket Yardage Calculator to calculate exact stitch counts, row counts, and 50/50 overlay mosaic color splits for any custom size.
Shop Matching Mosaic Blanket Patterns
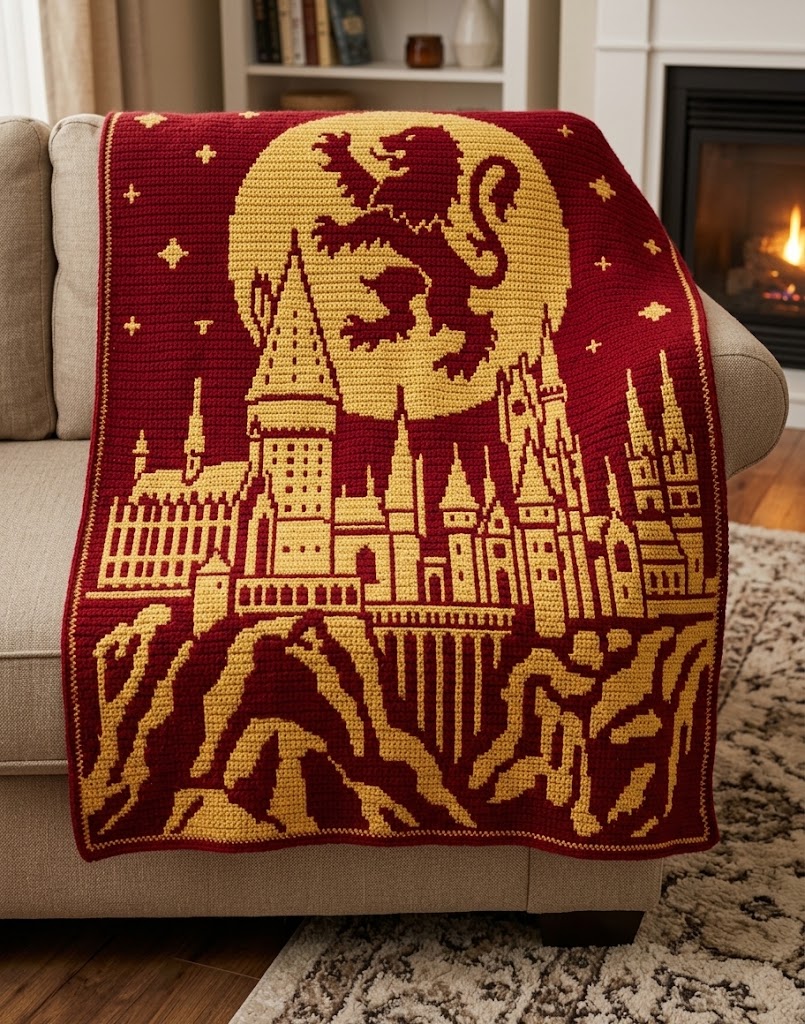
Brave Lion Crest House of Chivalry & Courage Mosaic Crochet Blanket Pattern
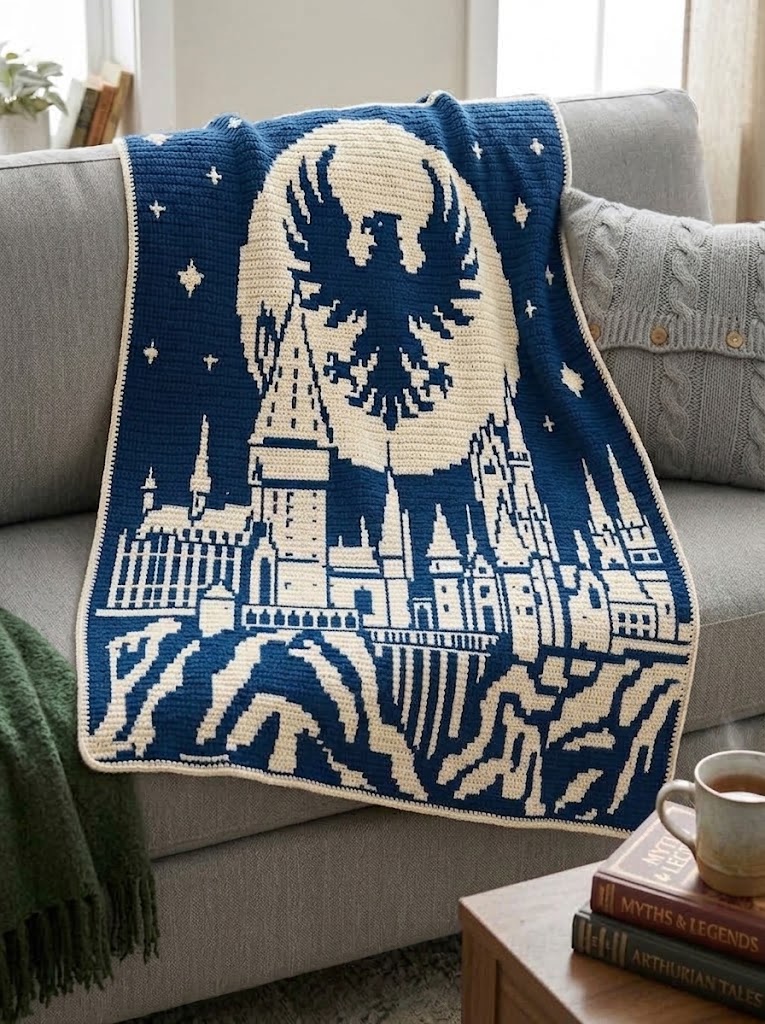
Wise Eagle Crest House of Wit & Bronze Mosaic Crochet Blanket Pattern
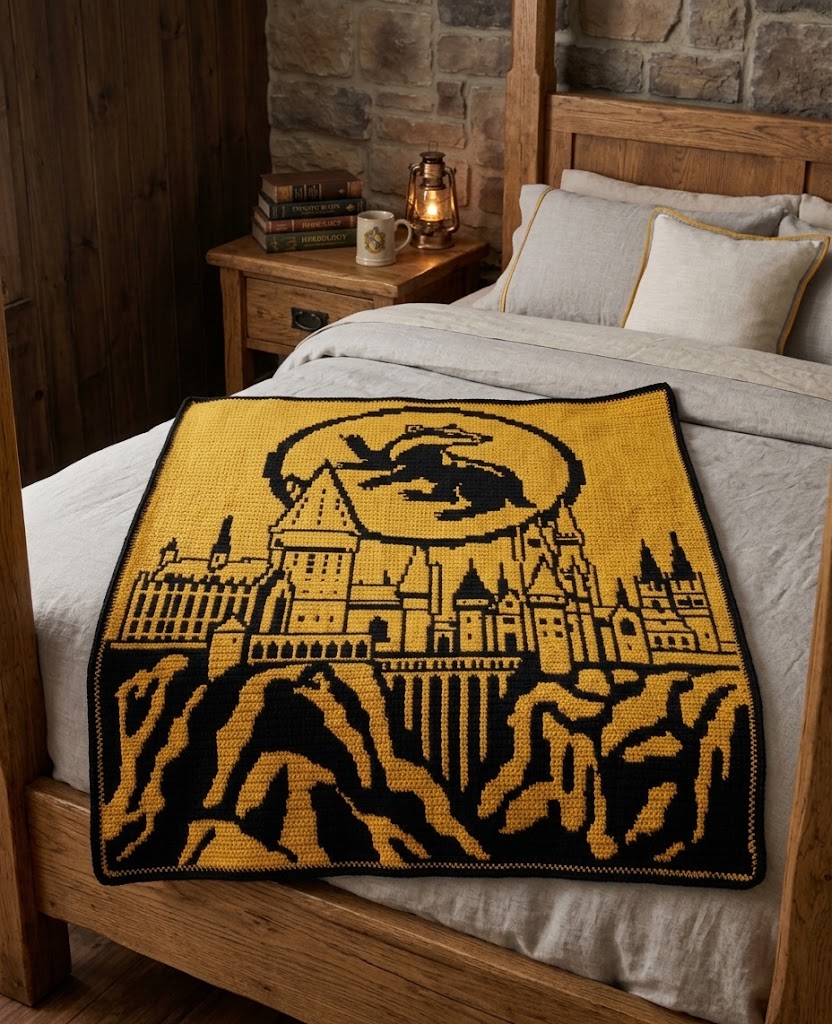
Loyal Badger Crest House of Earth & Gold Mosaic Crochet Blanket Pattern
Related Crochet Tutorials & Guides
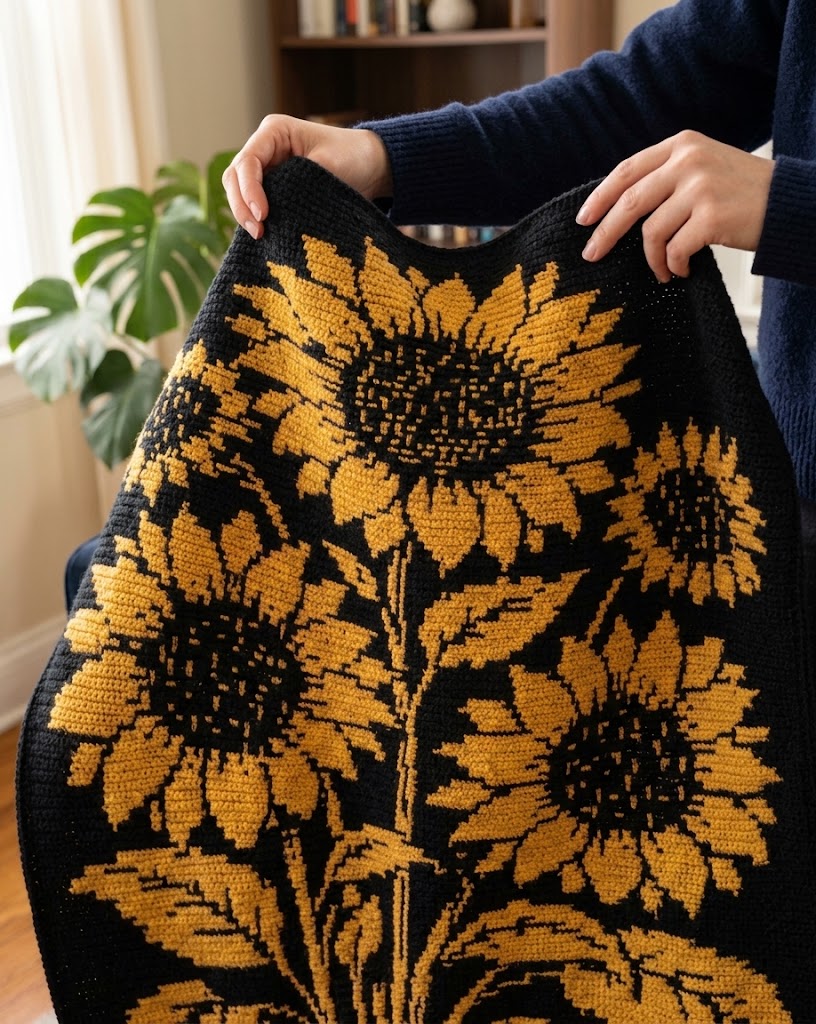
How to Steam Block a Large Acrylic Crochet Blanket (Step-by-Step Without Melting)
Transform stiff acrylic stitches into a luxurious, draping heirloom. Learn how to steam block large crochet blankets safely without flattening or melting synthetic fibers.
How to Fix Slanting Edges & Curling in Mosaic Crochet (Tension & Hook Size Secrets)
Is your mosaic blanket slanting into a parallelogram or curling like a taco? Discover the technical reasons behind tension distortion and 4 quick fixes to achieve perfectly straight edges.
How to Calculate Yarn Yardage for a Mosaic Crochet Blanket (Color A vs Color B Ratio)
Never run out of yarn mid-project again. Accurately calculate total yardage, estimate Color A vs Color B ratios, and budget for envelope borders with our proven formula.
🔗 Share or Reference This Guide on Your Blog
Are you a crochet blogger, yarn creator, or craft curator? You are welcome to reference or cite this tutorial on your website. Click below to copy a ready-to-use HTML link.
<p>Reference: <a href="https://crochetpinterest.com/blog/how-to-overlay-mosaic-crochet-beginners-step-by-step" target="_blank" rel="noopener">How to Overlay Mosaic Crochet for Beginners: Step-by-Step Guide [With Charts] on crochet pinterest</a>.</p>
[How to Overlay Mosaic Crochet for Beginners: Step-by-Step Guide [With Charts] on crochet pinterest](https://crochetpinterest.com/blog/how-to-overlay-mosaic-crochet-beginners-step-by-step)